
How To Stream Minecraft

Are you looking to start making Minecraft content? Ready to become the next big Minecraft content creator like Dream or TommyInnit?
We’ve got you covered with this guide on how to stream Minecraft.
Choose your gameplay aspects
Step One: Determine what mode you want to play
Choose your game mode. Minecraft has two game modes: Survival and Creative.
In Survival mode, you build structures, collect resources, defeat enemy mobs and explore.
In Creative mode, you have access to every block in the game. This mode is perfect for players who want to free build, determine a build style or play around with redstone mechanisms.
Choose your difficulty. There are four difficulties when playing Minecraft: Peaceful, Easy, Normal, or Hard.
Are you Hardcore? If you choose this challenge, hard mode is activated automatically, death is permanent and you lose the world if you die. You can spectate parts of the world you explored in life, but you cannot spawn new areas or further explore this seed.
This is a fun challenge to do on stream if you feel confident in your Minecraft skills!
Step Two: Choose your world seed
The world seed is the code for each generated world in Minecraft.
Every code has its own individual world generations, which means you can play a new world with a completely random seed or input an existing seed to try a specific experience. There are many Minecraft creators on YouTube who dedicate videos to showing off the cool world seeds they’ve found and you can use this to find a world that you’re interested in exploring.
To find seeds and try new seeds from other Minecraft community members, check out the MinecraftSeed Reddit page!
Step Three: Create a story / lore for your world
This can be done before you start playing, or as your world develops over time, and can be used to inspire your world. Having an architectural theme or naming parts of the land into towns or countries is all part of the fun – make your world unique!
This isn’t mandatory and many Minecraft streamers play with no story or lore tied to their games but if you intend to play in your world long term, this may be something you want to be thinking about as you play.
Step Four: Set goals & challenges for yourself
Will this be a 100 day challenge or will you just be playing until you die? If you do die, will this be the end of your world or will you allow yourself to keep going?
Try something different and attempt a Minecraft challenge run!
Setting goals helps you have something attainable to work towards throughout your game and can help you maintain interest. It also adds a challenge that you keep in mind. If you know that your death marks the end of your world and all of your progress is lost, you feel as though you have more to lose when making mistakes.
This can be stressful though so make your goals and challenges workable and organic, allowing them to grow and change as you become a better player.
Technical Setup
Now we show you how to stream Minecraft on a technical level! Once you have an idea of how you want to play your game, let’s set up your stream.
Step One: Open Minecraft & streaming software of your choice
Open Minecraft and the screencasting or live streaming software of your choice. In StreamerSquare examples we will use OBS Studio (Open Broadcast Software).
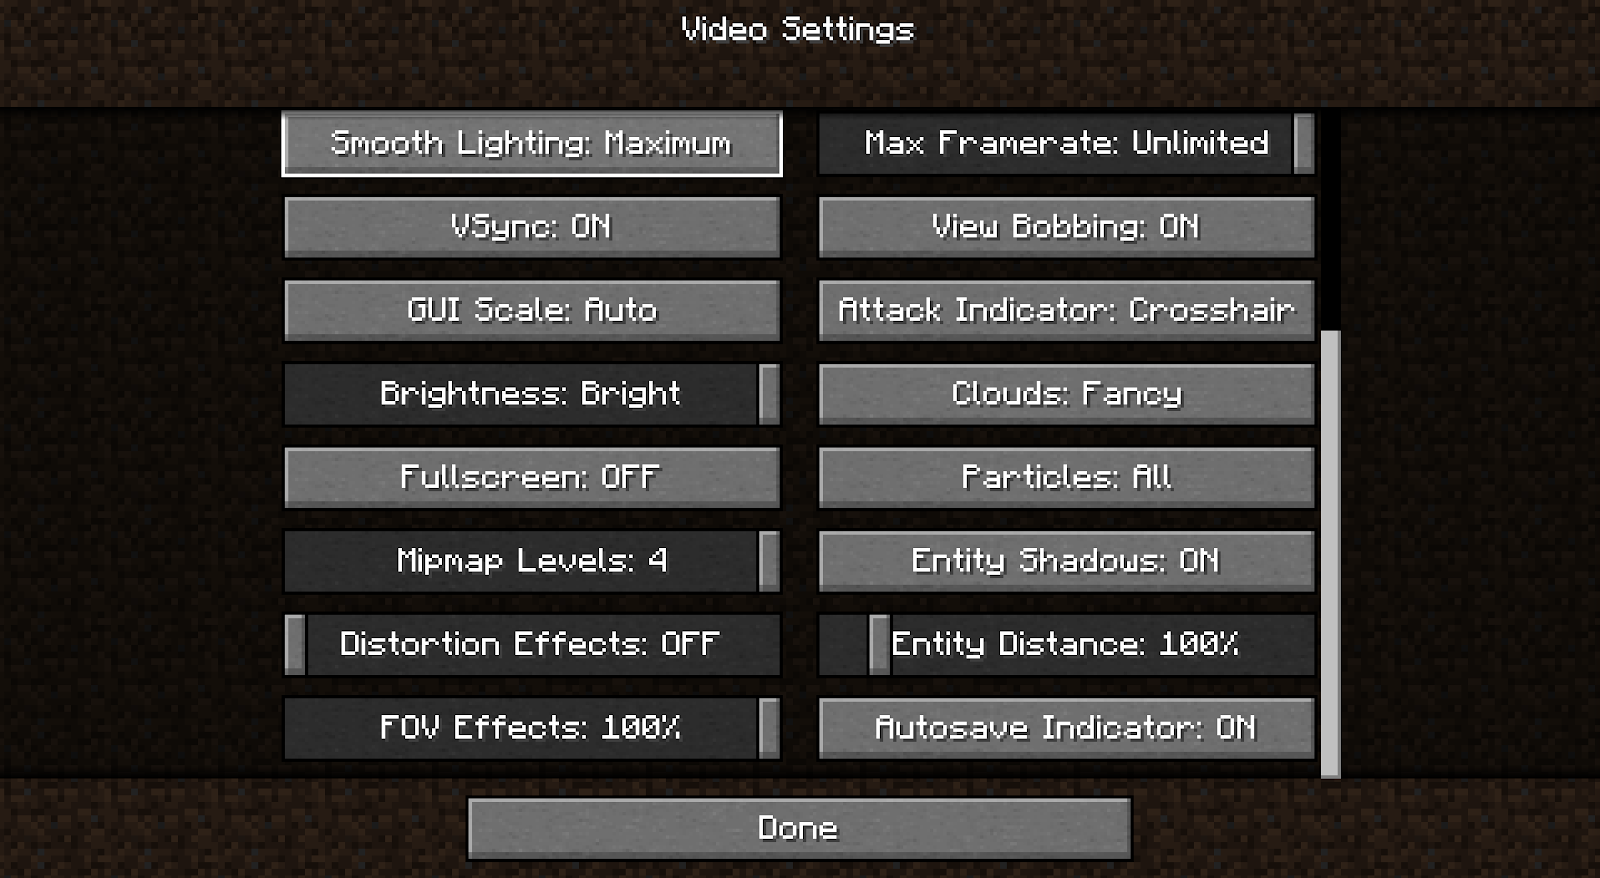
For the best experience while streaming Minecraft, we recommend turning off fullscreen mode.
To do this: Open the ‘Settings’ and go to ‘Video Settings’, from there scroll down and select the ‘Fullscreen’ button so it toggles off like the image below.
Step Two: Create a source for your game
You want to capture your game window so your viewers can see what you’re seeing. Under your ‘Sources,’ add a new ‘Game Capture‘ window.

Here you can choose to capture any full-screen window, or capture a specific window. Set it to capture a specific window, then choose your open Minecraft game and you’re all set.
Step Three: Tech check!
Last step is making sure everything is compatible with your setup.
If you’re using a camera or VTuber, set up your avatar overlay in front of the game capture screen. This way your viewers can see your character and your live reactions to things going on in your game
It’s a good idea to run a test stream or recording to pinpoint any issues. Ensure the volume is comparable with your own voice and any guests.
Now you’re set – you know how to stream Minecraft like a pro. We can’t wait to see what kind of world you come up with!
ABOUT THE AUTHOR

TeonaWrites, Senior Writer
Teona is part of the StreamerSqure staff as a writer and admin manager. They are a queer, disabled creator and social media influencer who loves writing, photography, beauty & fashion as well as video games. Tee started their content creator career as a freelance writer and blogger and since then have expanded to also include streaming variety content on Twitch. They use their platforms to share experiences with, and educate on, disability, chronic illness, neurodivergence and queerness as well as create spaces where we can be safe to explore ourselves.
About the Author

teonawrites
Teona is a queer, disabled creator and social media influencer who loves writing, photography, beauty & fashion as well as video games. Tee started their content creator career as a freelance writer and blogger. Since then, have expanded to also include streaming variety content on Twitch. They use their platforms to share experiences with, and educate on, disability, chronic illness, neurodivergence and queerness as well as create spaces where we can be safe to explore ourselves.


